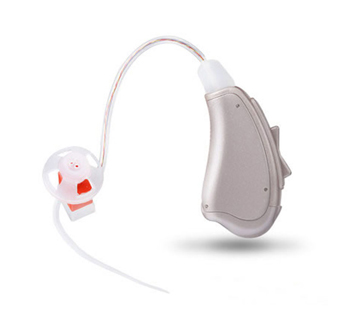
Cadenza R7 RIC Material Hearing Aids Open-fit
- 10 Channel
- 12 Band
- 15dB Noise Reduction
- Description
- Features
- Technical Specification
- Steps for Wearing
Full Frequency Noise Reduction function keep hearing comfortably and clarity, no noise and whistle. When user press push button by 1s, volume power changed. When user press push button more than 2s, pogram switch auto. When user press push button more than 5 seconds, hearing aid standby. Medical material and Open-fit make hear clarity and feel comfortably.
Medical material
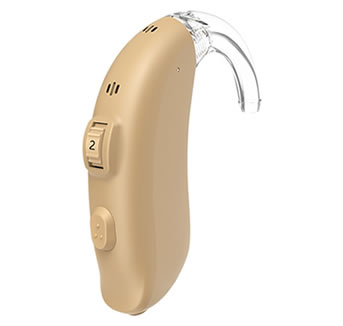
Non-programmable and behind the ear OE style
Battery: Zinc-Air battery 312A
It can be sold at super markets, pharmacy shops, online shops and hearing clinics etc.
| Features | Cadenza R | ||||
| Product Name | R1 | R3 | R5 | R7 | R9 |
| Fitting Range(dBHL) | ≤65 | ≤65 | ≤65 | ≤65 | ≤65 |
| Battery | A312 | ||||
| Channel | 4 | 6 | 8 | 10 | 12 |
| Band | 8 | 8 | 12 | 12 | 16 |
| Noise Reduction | 6dB | 9dB | 12dB | 15dB | 18dB |
| Multi-channels Expansion | 4 | 6 | 8 | 10 | 12 |
| Program | 4 | 4 | 4 | 4 | 4 |
| Program/Volume Recording | √ | √ | √ | √ | √ |
| Push Button/VC | Push Button | ||||
| Program Switch Indicator | √ | √ | √ | √ | √ |
| Low Power Indicator | √ | √ | √ | √ | √ |
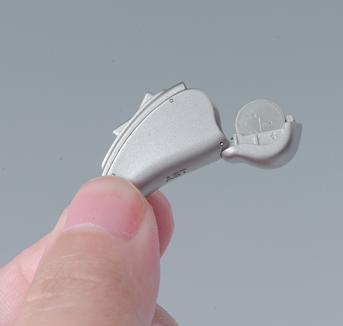
a.Installing Battery
1. Check whether the battery type is correct or not (Battery size:312).
2. Remove the tag on the battery and keep it in the air at least 1 minute.
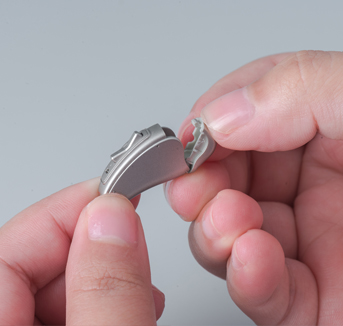
3. Open the battery door gently.
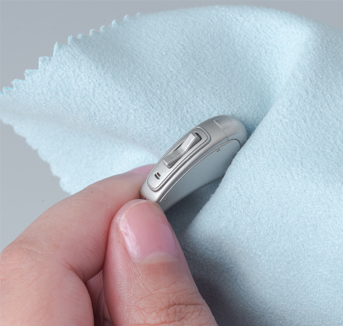
4.Use the brush's magnet to hold the battery positive and then insert the battery. Should avoid touching battery by hand directly. Brush flat move to the direction of the battery door to separate the battery
and brush, then close the battery door.
5.Gently close the battery door.

b.Power On/Off
Power On: Close the battery door.
Power Off: Open the battery door.
c.Removing BatteryOpen the battery door gently by your fingernail. After the battery door is fully opened, use the brush's magnet to hold the battery, and then take out the battery. Do not take out the battery directly by hand .
d.Wear RIC Hearing Aid
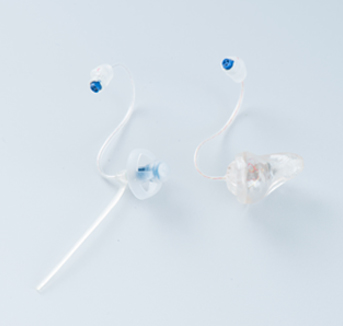
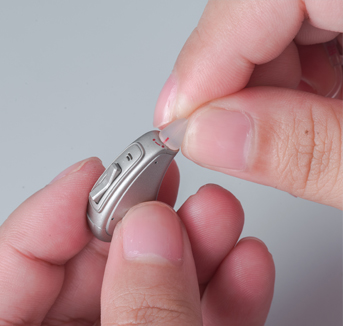
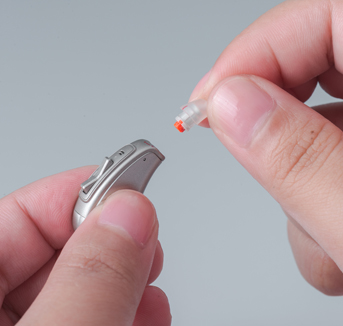
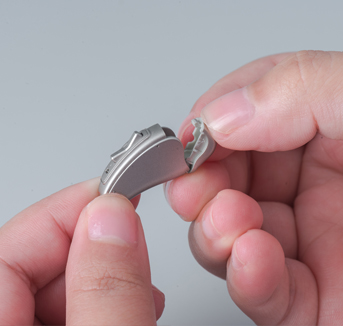
1. Eartip Assembly
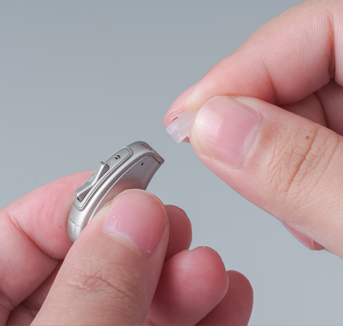
Choose the appropriate size of eartip and insert it into the connector on tube.
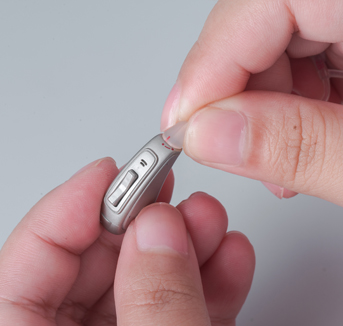
2. Steps for Wearing Hearing Aid
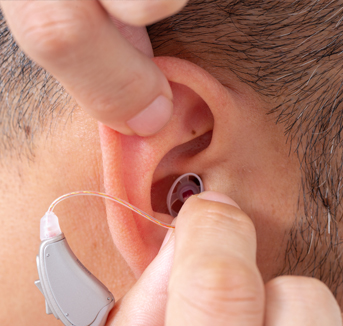
Use fingers to hold the bottom of the sound tube and push the eartip into the canal gently.
Use another hand to pull the auricle backward, rotating the eartip until it reach the right position.
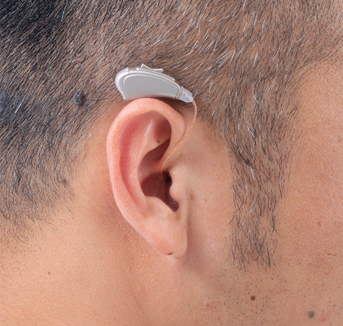
Put the hearing aid behind the ear and closed to the head, hung on the ear properly.
e.Removing the Hearing Aid
Remove the hearing aid from the back of the ear.
Hold the bottom of the sound tube and pull gently, take out the ear mold or eartip when loosen.
f.Push-Switch (Multi function)
* The multi-function toggle-switch can be used to change volume and program with memory function.
* Steps for Volume Control and Program Switch: Short push for Volume Control and long push 2 seconds for Program Switch.
* Volume Control
In different environments, you can short push the up and down button to adjust the volume to the maximum comfort level.
Short push the up button to increase the volume.
Short push the down button to decrease the volume.
For the switch of each volume step, you will hear one beep.
When the volume is at the Max or Min level, you will hear three beeps.
* Program Switch
Long push the up button(≥2s) to change the program from Program 1 to 2 to 3...
Long push the down button (≥2s) to change the program from Program 3 to 2 to 1...
The hearing aid comes with memory functions for program and volume.
When reset the device, hearing aid will keep the volume and program last time you set.
g.How to Use the Tele-coil Program (Available for the device with tele-coil)
Switch the program into the tele-coil, move the telephone receiver close to the hearing aid, slowly move the receiver to find the position for a clear hearing of the call. After the call, please switch the program back to microphone mode.


